Record what is already there
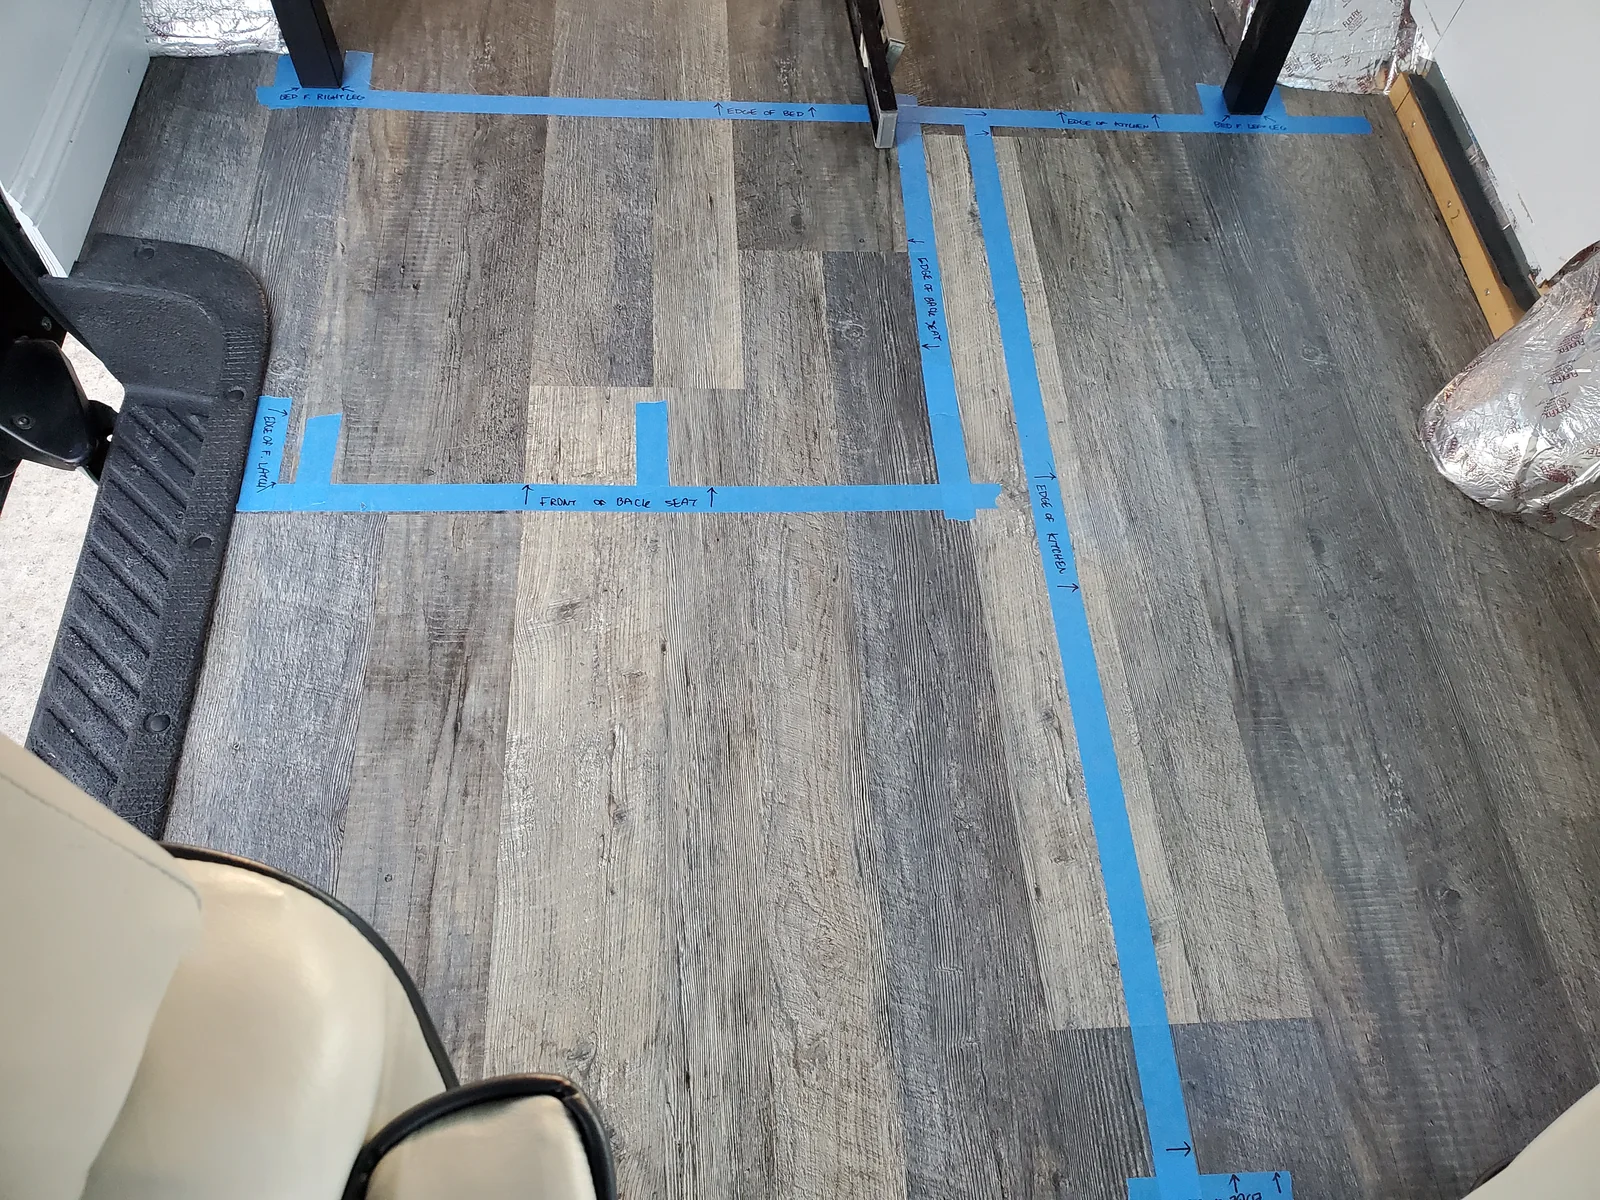
Walter began as a working van full of tools. The September 24, 2017 photographs show a mesh partition, carpeted floor, molded side trim and the old storage area toward the front. It is a very different view from the finished camper.
Before removing finishes in another van, photograph the whole interior and then its interfaces: trim edges, cable routes, existing fasteners, seat and restraint mountings, door mechanisms and floor penetrations. Those pictures become useful when a loose connector or unusual bracket appears later.
Decide what is being kept, what needs inspection and what is outside the scope of interior finish removal. Vehicle systems, restraints and structural attachments need vehicle-specific information and suitable expertise.
Planning step
1 / Organize removal around the next inspection
Work in manageable areas so exposed surfaces can be inspected and parts can be identified. Label bags of reusable fasteners by location, and keep a simple photo index. Record a part’s orientation and any clips hidden behind it before setting it aside.
A practical preparation kit includes a camera, labels, containers for fixings, surface protection and trim tools appropriate to the actual fasteners. Add the vehicle service information for systems affected by the work. This is a general preparation list; the archive does not identify every tool Michael used.
Keep removed material separate from parts still needed to close or operate the van. A clear floor makes the next survey much easier than a pile of unlabelled pieces.
Photographed stage
2 / Expose the floor and preserve its details
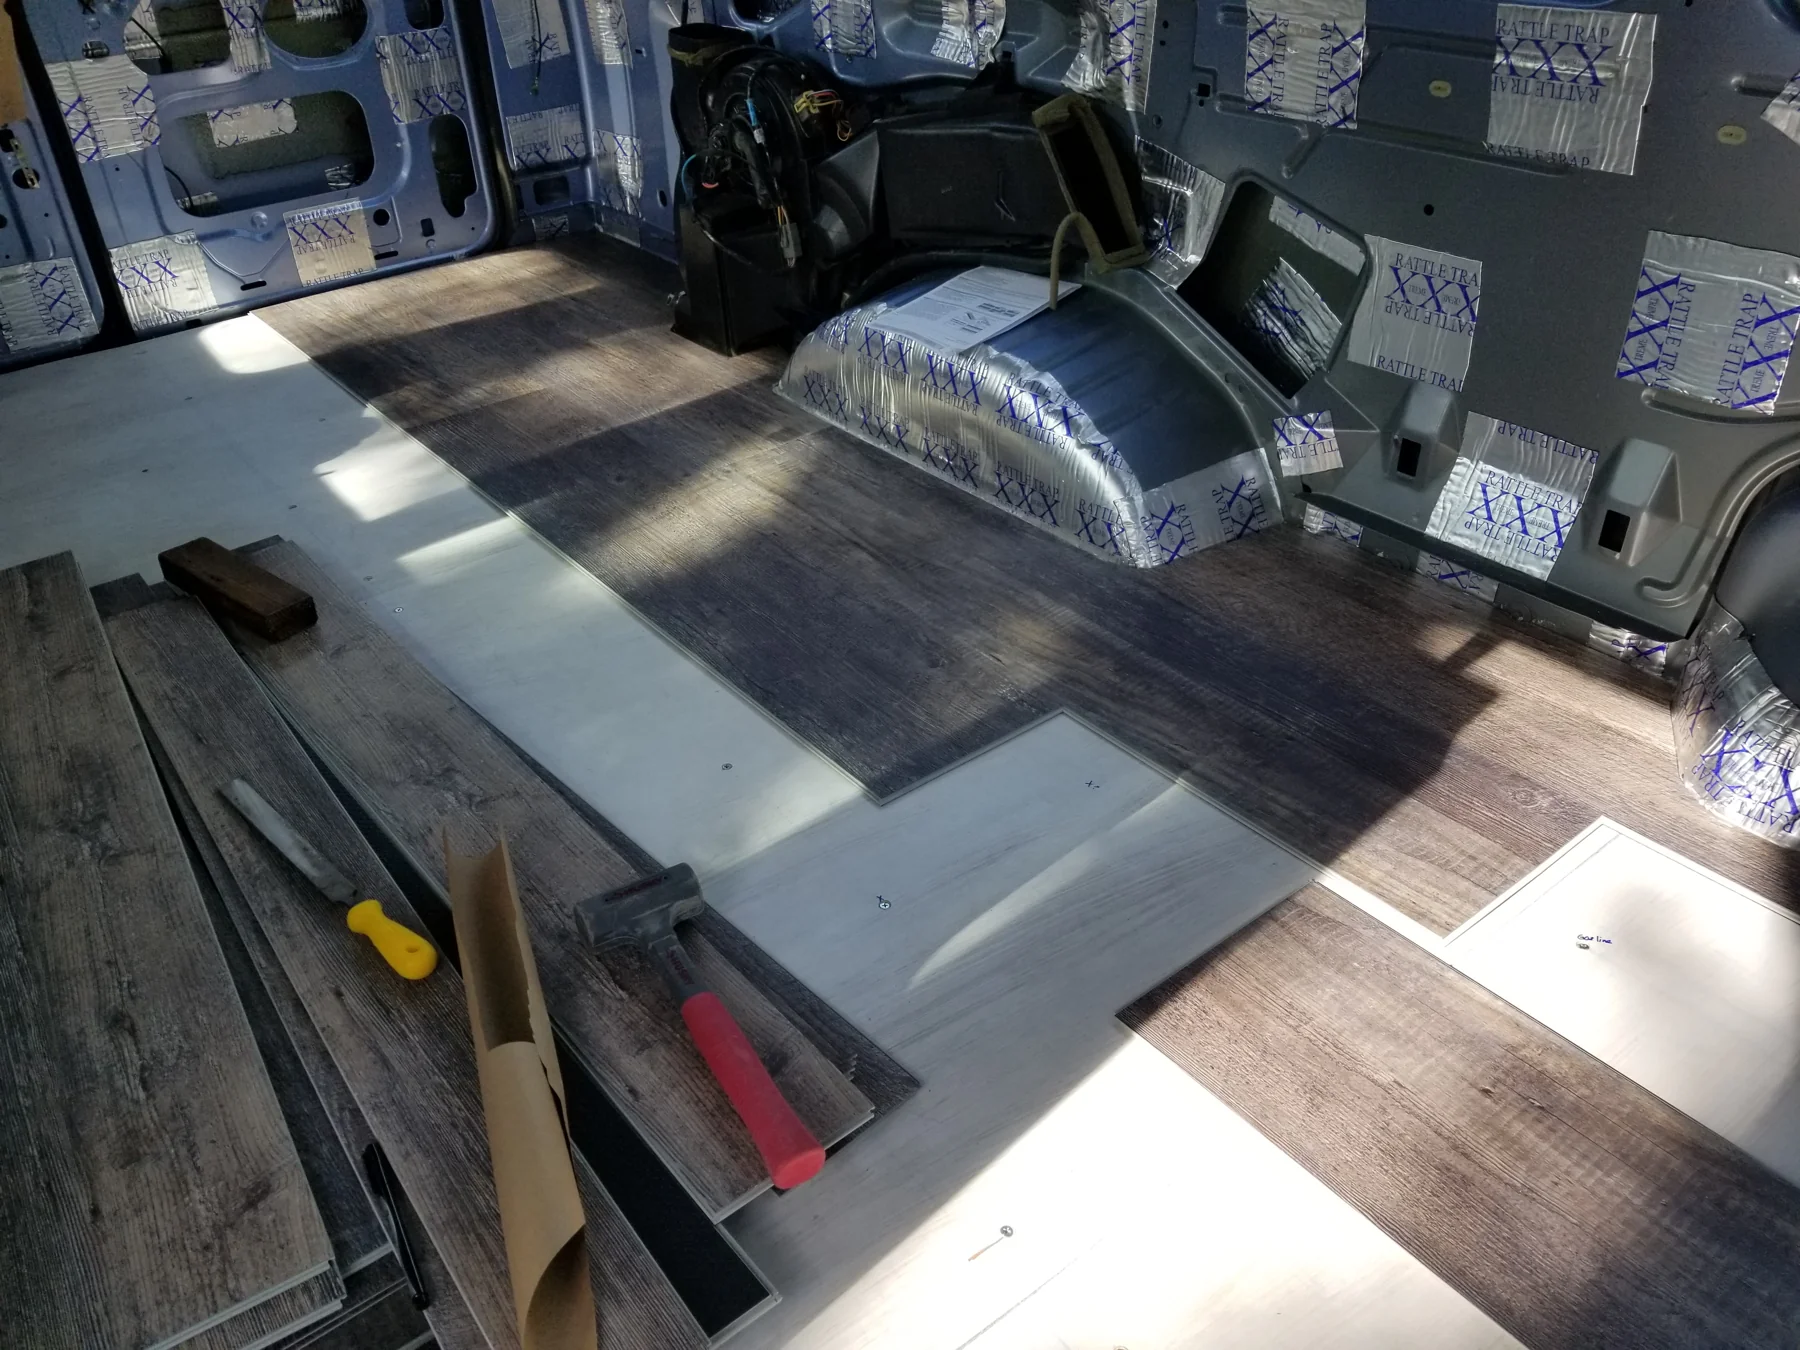
A later photograph that afternoon shows the carpet removed and the ribbed blue steel exposed. The original contours, seams and fixing points are visible before a new deck changes the surface.
Record these details while they can still be seen. Inspect areas around openings and old penetrations, and resolve any vehicle or surface-repair work before covering it. The photograph does not by itself diagnose corrosion, moisture damage or the condition of concealed structure.
Walter’s later floor chapter follows a separate March–April 2018 sequence. Keeping removal and new construction as separate stages prevents an early bare-floor photograph from being treated as the final preparation specification.
Photographed stage
3 / Survey the wall after the trim is gone
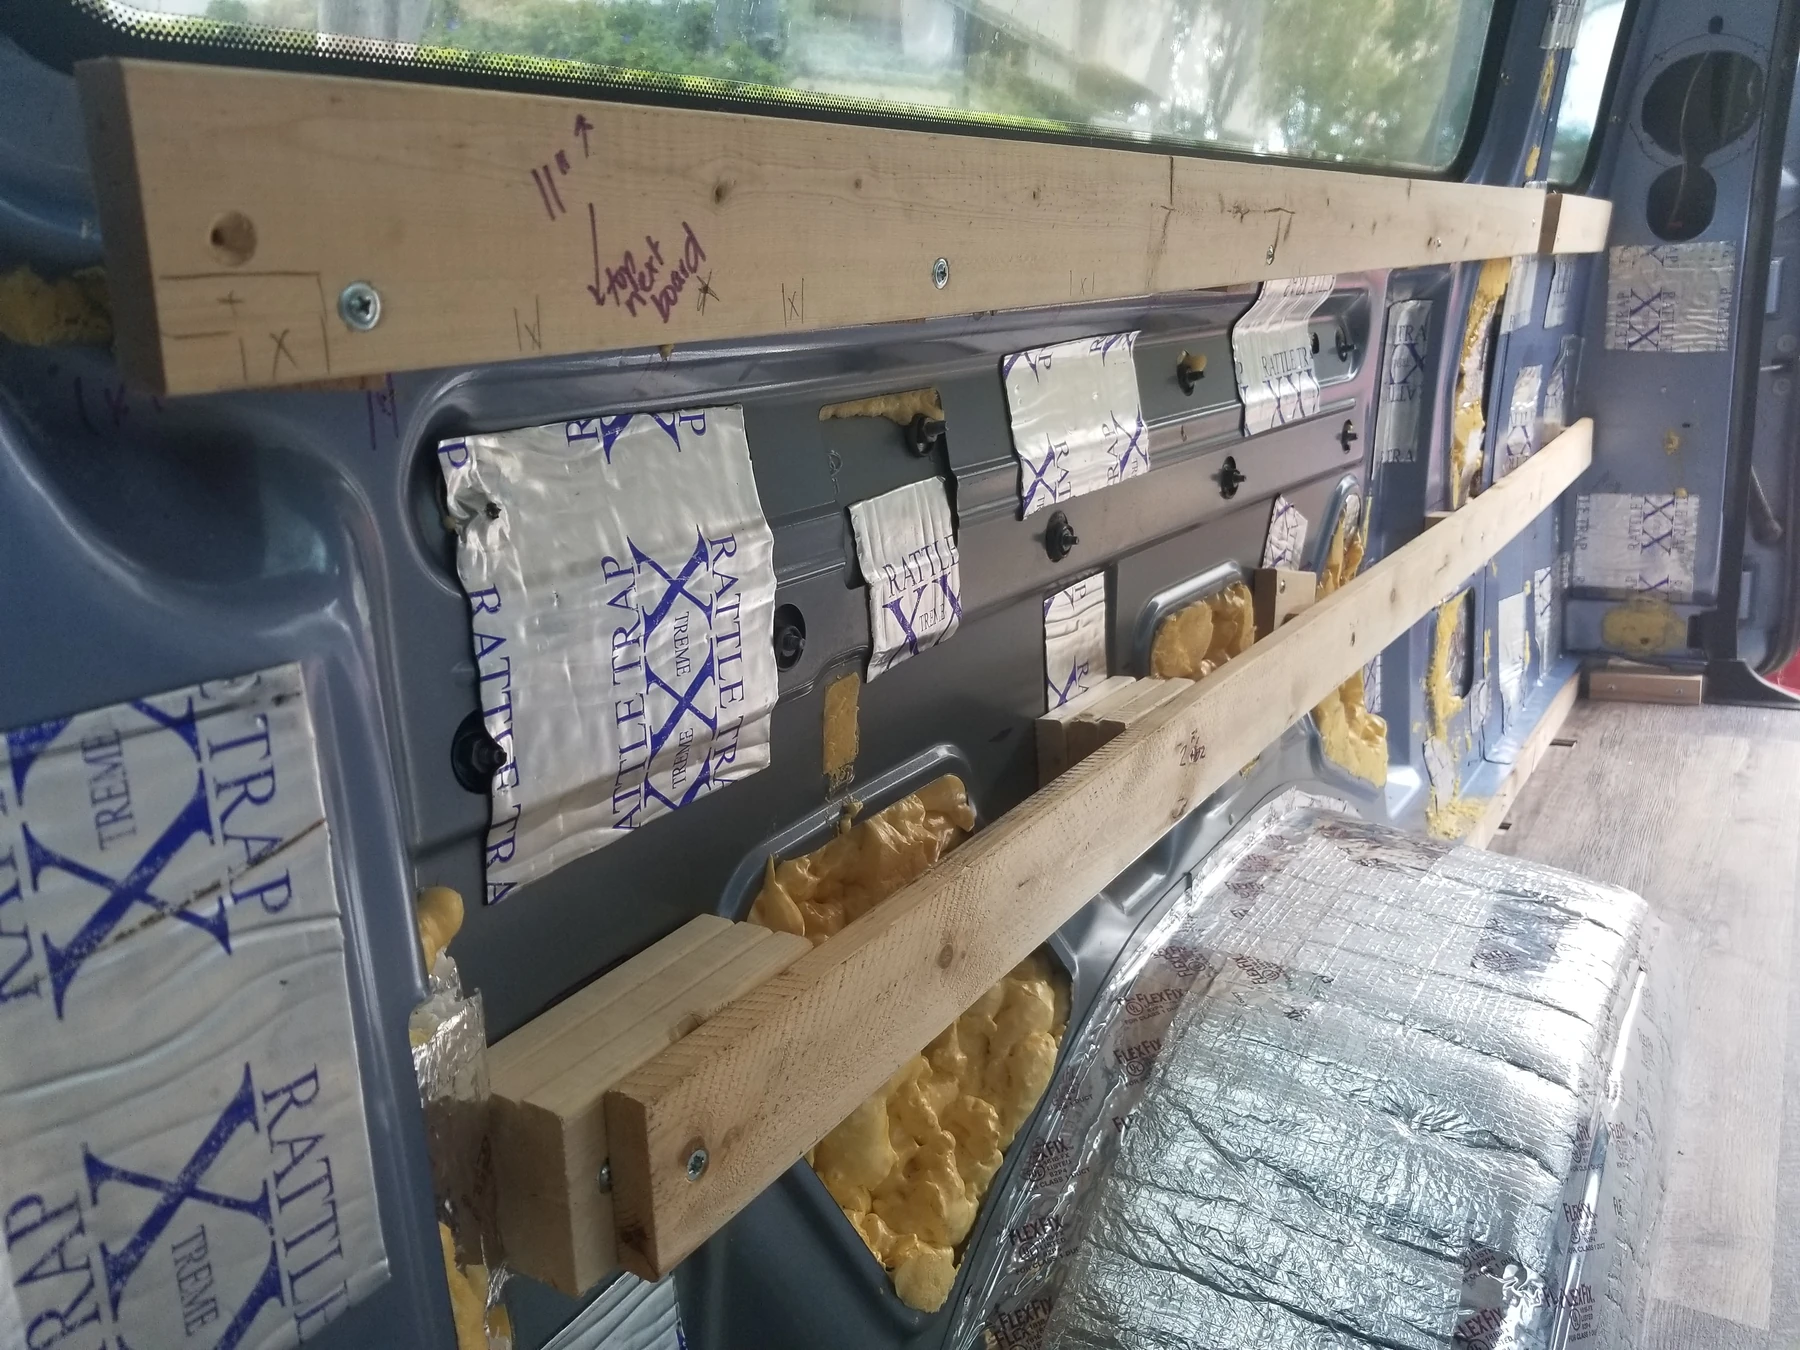
By the final selected view, the side lining has been removed. Stamped metal, openings and the wheelwell are visible. This is the moment to map the shape that a flat cabinet drawing tends to overlook.
Measure at several heights, photograph existing routes and identify vehicle service access. Keep original drains, mechanisms and other working features understandable rather than hiding them behind a new panel without a record.
Different donor vans have different trim, services and body details. Walter’s sequence explains the benefit of exposing the shell; it does not establish a universal disassembly order or permission to remove every visible attachment.
Planning step
4 / Hand a documented shell to the next stage
Make a short record before lining begins: photographs, measured contours, the work completed, remaining questions and any items that must stay accessible. Include the date and the part of the vehicle each picture shows.
- Removed finishes and reusable fixings are labelled.
- Exposed surfaces and existing openings have been inspected.
- Vehicle-specific repairs and systems work have a checked plan.
- Layout measurements reference clearly identified surfaces.
- Future panels preserve necessary access and clearance.
- The next guide uses the actual recorded shell, rather than assumed interior dimensions.
Continue with layout planning, the floor and the ceiling study.
About these notes
Three same-day originals show carpet/trim, exposed ribbed steel and removed side lining. This is an interior-finish record and planning guide, not a seat/restraint, vehicle-electrical, corrosion-repair or structural-modification procedure.