Design the work, then the cabinet
A campervan kitchen is a collection of moving parts. The sink needs space below its bowl. A top-loading cooler needs room for its lid. A drawer needs a clear route into the aisle. Water containers and fittings need to come out again after the countertop is installed.
Walter brings these jobs together in a custom aluminum-framed kitchenette. The white countertop holds a raised basin and faucet; the dark wood fronts hide storage, the cooler tray and water access. Michael’s finished-build record lists a 46-liter Dometic 12V cooler and three soft-close drawers.
The useful starting point for another van is the same set of relationships. The cabinet dimensions belong to the actual vehicle and equipment you choose. The drawing separates the jobs without presenting Walter’s unresolved dimensions as a cut plan.
 Enlarge drawing ↗
Planning relationship study
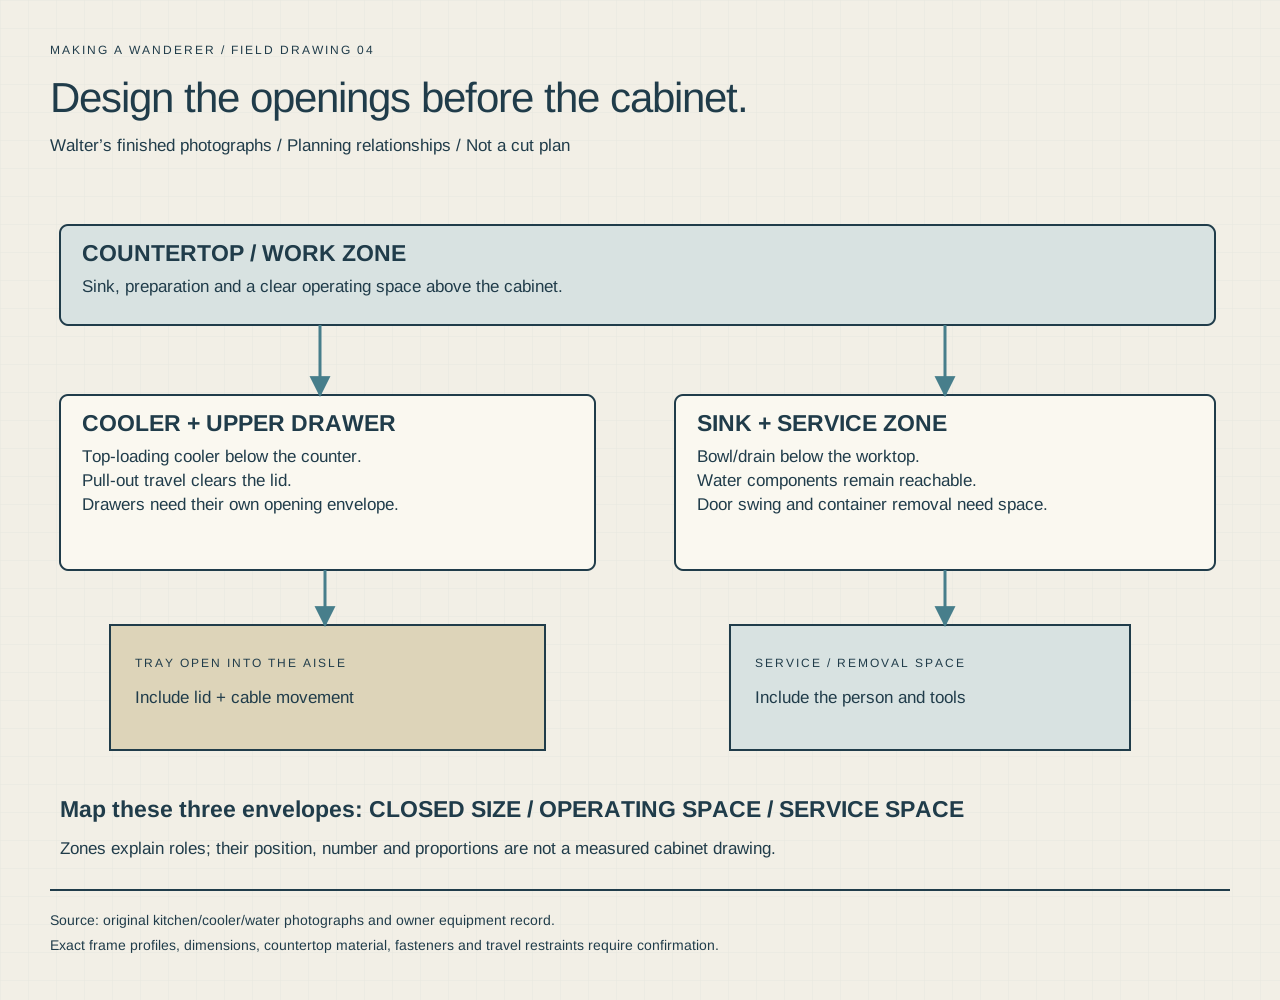
The kitchen’s three envelopes
Map closed equipment, operating movement and service access before sizing the cabinet.
Download sharp vector drawing ↓Planning step
1 / Make three envelopes for every component
Record the component’s closed size, its operating space and its service space. These are three different envelopes. For a cooler, the operating envelope includes the lid and the tray at full extension. Service space includes the plug, ventilation openings and a route to remove the whole unit.
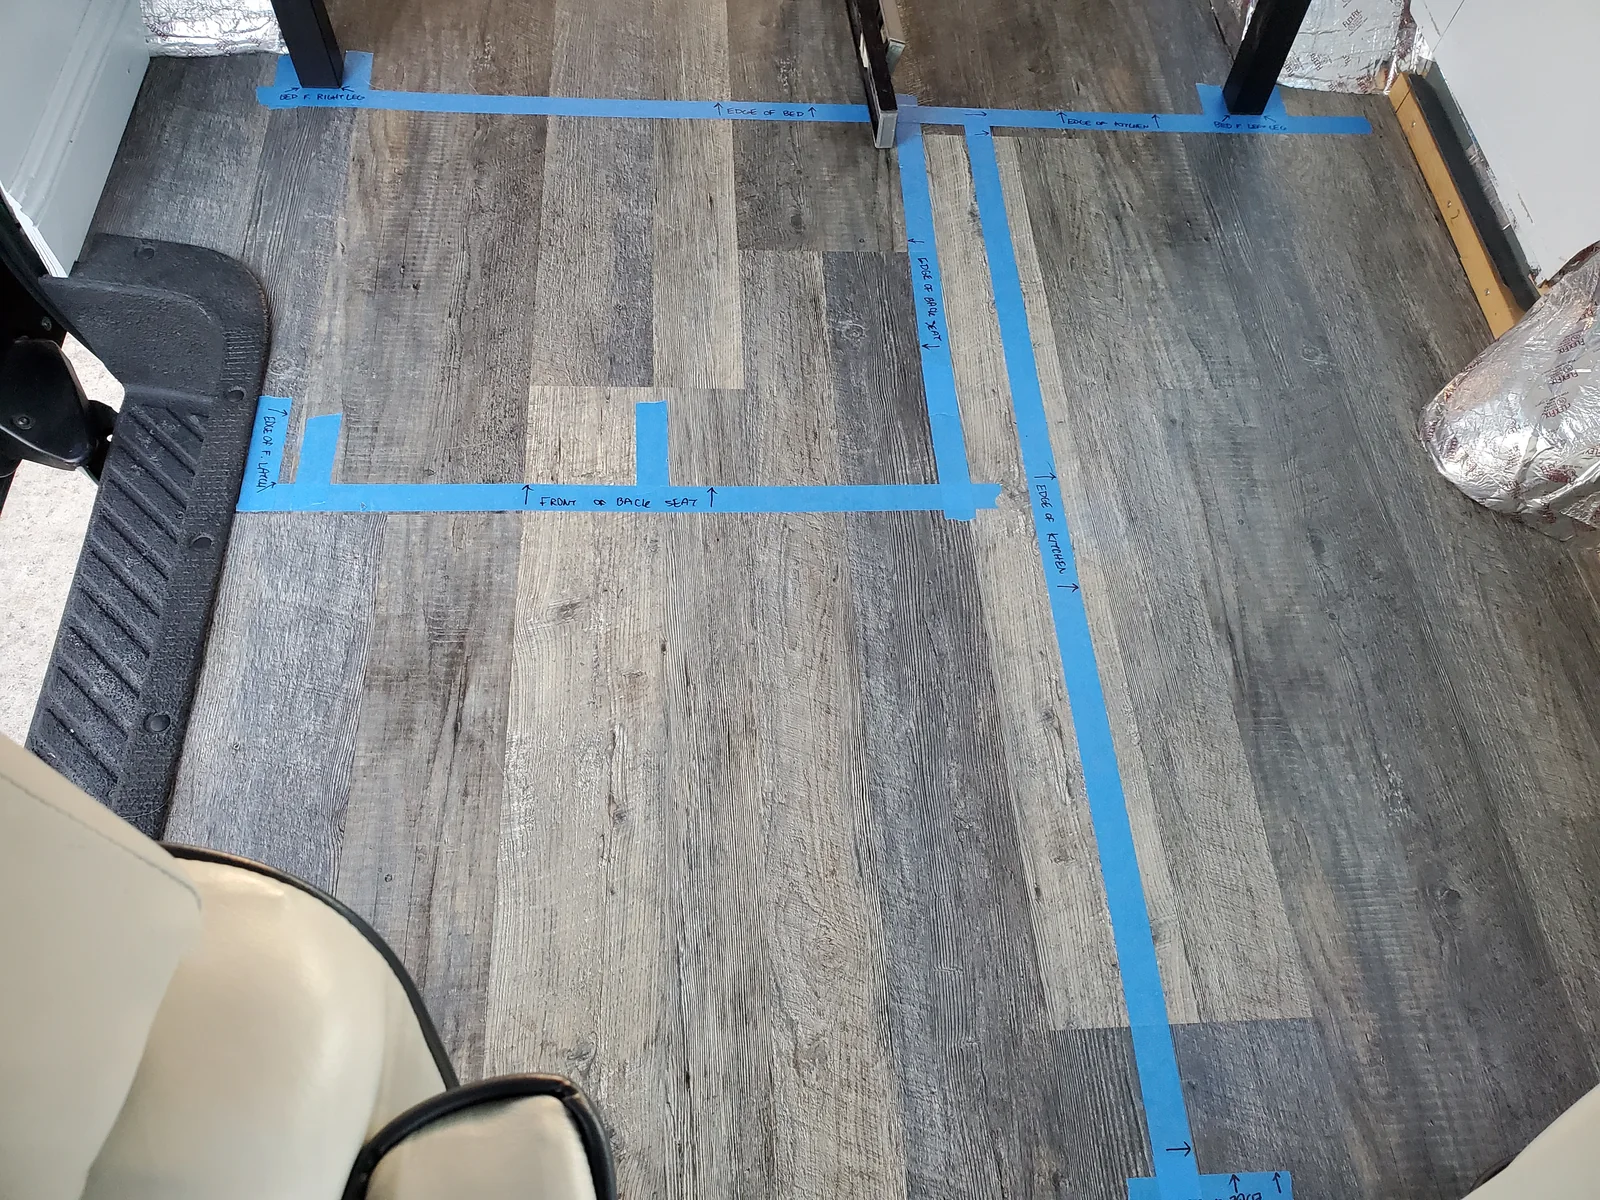
Make simple full-size cardboard blocks or tape outlines before committing the frame. Add the counter edge, drawer fronts, handles and any hinges to the layout. Open neighboring doors and rotate any nearby seating through its intended positions. Check these states together, rather than measuring each item in isolation.
| Decision | What to record |
|---|---|
| Sink and faucet | Bowl projection below the top; mounting details; drain/trap space; faucet reach; access to fasteners and supply connections. |
| Cooler | Exact model and manual; case dimensions; lid height when open; connector/vent clearance; tray length; restraint and removal route. |
| Drawers | Usable box size; chosen runner geometry; opening travel; front/handle projection; closure method for vehicle use. |
| Water and services | Container lifting/removal route; pump/strainer access; hose bend space; isolation points; leak inspection and electrical separation. |
Planning step
2 / Give the cooler a complete opening path
Walter’s top-loading cooler sits below the countertop. Pulling the tray into the aisle moves the lid out from under the counter, allowing it to lift. The neighboring seats are part of this geometry: the photograph shows how closely the tray, bench and front chair share the same space.
When laying out a similar tray, check full extension with the actual cooler on it. A tray that opens far enough for a hand may still leave the lid trapped. Include the handle, cable bend and the point where a flexible power lead must move without rubbing or being pinched.
Use the selected appliance’s ventilation instructions to size its enclosure. An apparently generous opening in Walter’s photograph does not establish clearance for a different refrigerator. Slide capacity, tray attachment and a positive travel restraint must be designed for the selected appliance and vehicle conditions; soft close alone does not establish travel retention.
Planning step
3 / Build around a stable, serviceable frame
The finished cabinet exposes black slotted framing around its openings. The equipment record identifies a custom lightweight aluminum kitchen frame; purchase records also include 80/20 profiles and connectors. Those purchases support material research, but they do not establish every installed profile or joint.
Work out which members support the countertop, which create drawer openings and which keep the frame square. Include connector bodies, bolt access and panels in the model. A nominal extrusion length is not automatically the clear width inside a completed bay.
Choose the profile series and joint system together. 80/20’s fastening guide explains that connector choices depend on operational loads and application. This chapter does not assign a structural rating or vehicle attachment schedule to Walter’s photographed cabinet.
A useful build record
Photograph every joint and attachment before the panels hide it. Keep a parts list and the chosen fastener instructions with the frame drawing. That record is more useful than a finished photograph when a drawer later needs adjustment.
Planning step
4 / Fit the counter and sink as one assembly
Walter’s basin sits above the white worktop, with the faucet behind it. This changes the space below the top compared with a deep undermount sink, but the drain and connection hardware still need a clear route into the cabinet.
Use the actual sink’s template and fastening instructions when making the opening. First confirm where the frame rails, drawer travel and water-container access sit beneath it. A hole that fits the bowl can still land directly over a crossmember or prevent a fitting from being tightened.
Check the counter edge against seating, doors and the aisle. Protect penetrations and exposed panel edges using a finish suited to the selected material and wet use. Walter’s exact countertop material, adhesive and mounting details have not been recovered, so they are not specified here.
Planning step
5 / Organize the things used every day
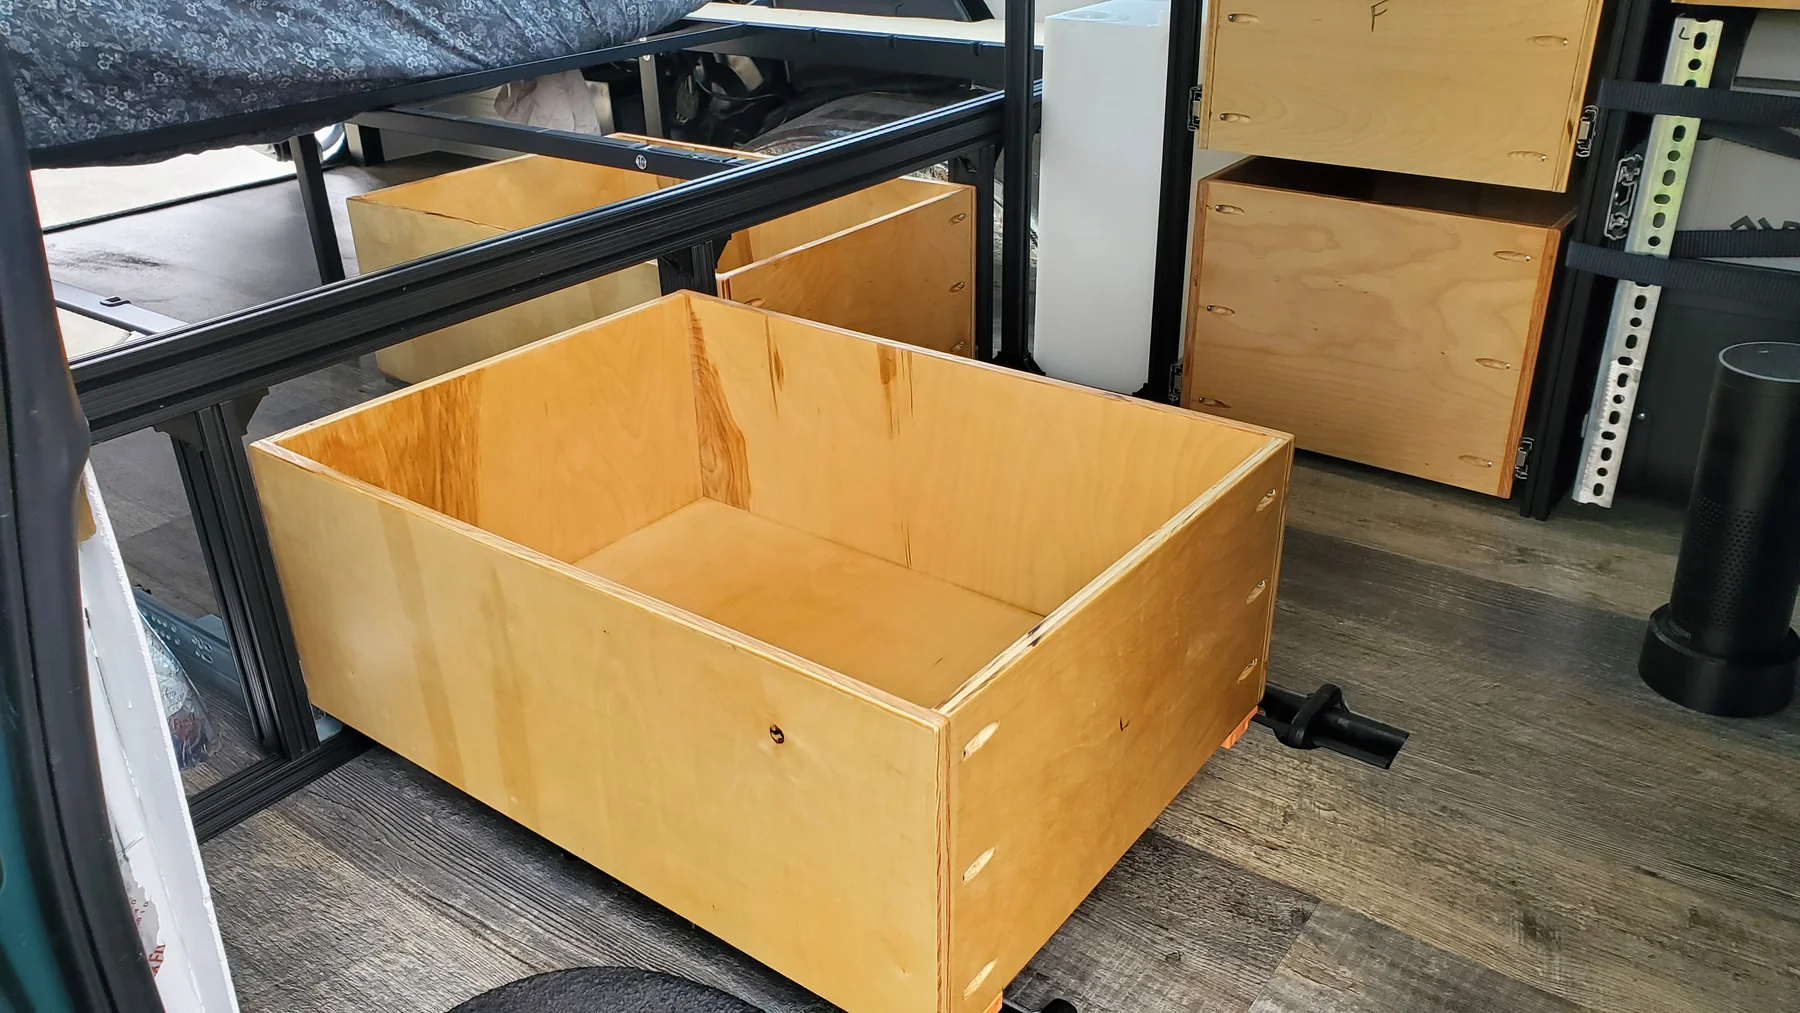
The wide upper drawer brings cutlery, knives and utensils into view at once. Its organizer makes the shallow space useful without requiring a deep cabinet search. In a small kitchen, the route from opening a drawer to putting an item back matters as much as the volume of storage.
Lay out the largest everyday items before fixing divider positions. Leave enough hand space to lift them out. Keep sharp tools and heavy items retained for travel, and check that the loaded drawer closes without the contents catching the underside of the counter.
The build record lists three soft-close drawers. That describes the kitchen’s recorded hardware behavior; it is not evidence that a particular present-day runner or latch was installed. The storage guide explains the fit and service questions in more detail.
Planning step
6 / Prove that the hidden parts remain reachable
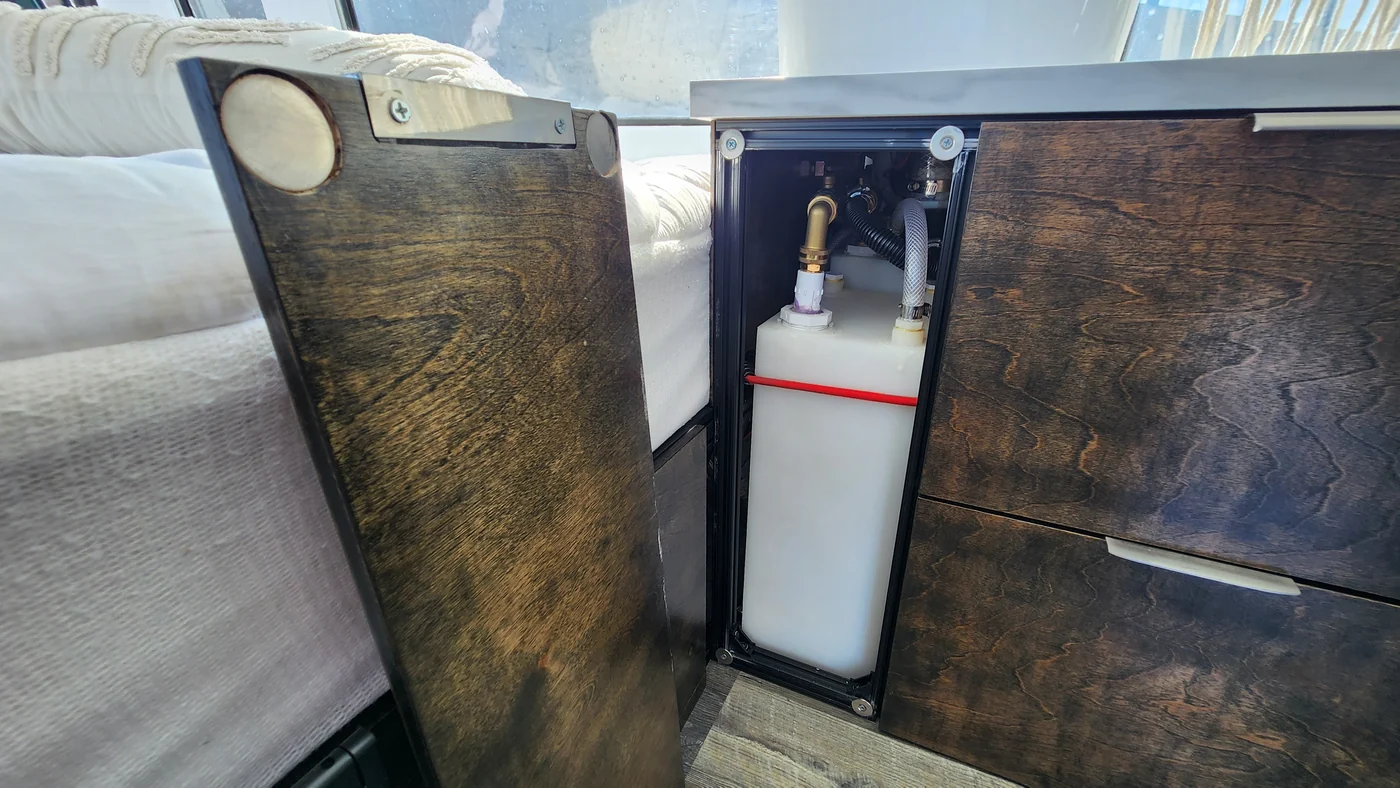
Open Walter’s narrow cabinet door and a water container, hoses and fittings become accessible. The door swings into the living space beside the seat. This is a useful reminder to reserve space for the person servicing the system, as well as the equipment.
Before finishing a cabinet, rehearse the jobs it will need later: removing a container, reaching a hose clip, disconnecting the cooler and inspecting beneath the sink. Avoid relying on a tool fitting through a gap that disappears when the next panel is installed.
Keep water inspection points accessible and plan how a leak would be noticed. Locate electrical connections with their manufacturer’s separation and environmental requirements in mind. The separate water guide explains the recorded system roles without guessing the concealed hose route.
Kitchen commissioning checklist
- Operate every drawer, door, tray and seat through its full intended movement.
- Check the cooler lid and its moving cable at full extension.
- Confirm appliance ventilation against its exact manual.
- Rehearse container and appliance removal before enclosing the frame.
- Inspect sink connections during a controlled wet test, following the selected components’ instructions.
- Record the finished dimensions, materials, fasteners and travel restraints for future maintenance.
For another campervan, these checks transfer more reliably than a borrowed cabinet width. Walter provides a detailed example of making several small systems coexist; the final measurements and installation design belong to the vehicle being built.
About these notes
Original finished-build photographs and Michael’s equipment record establish the aluminum frame, sink, 46-liter Dometic cooler and three soft-close drawers. The sequence below is a planning workflow informed by that evidence; concealed joinery, exact dimensions and current product matches are not invented.